Monday, 21 July 2014

What I Made: kawaii octopus


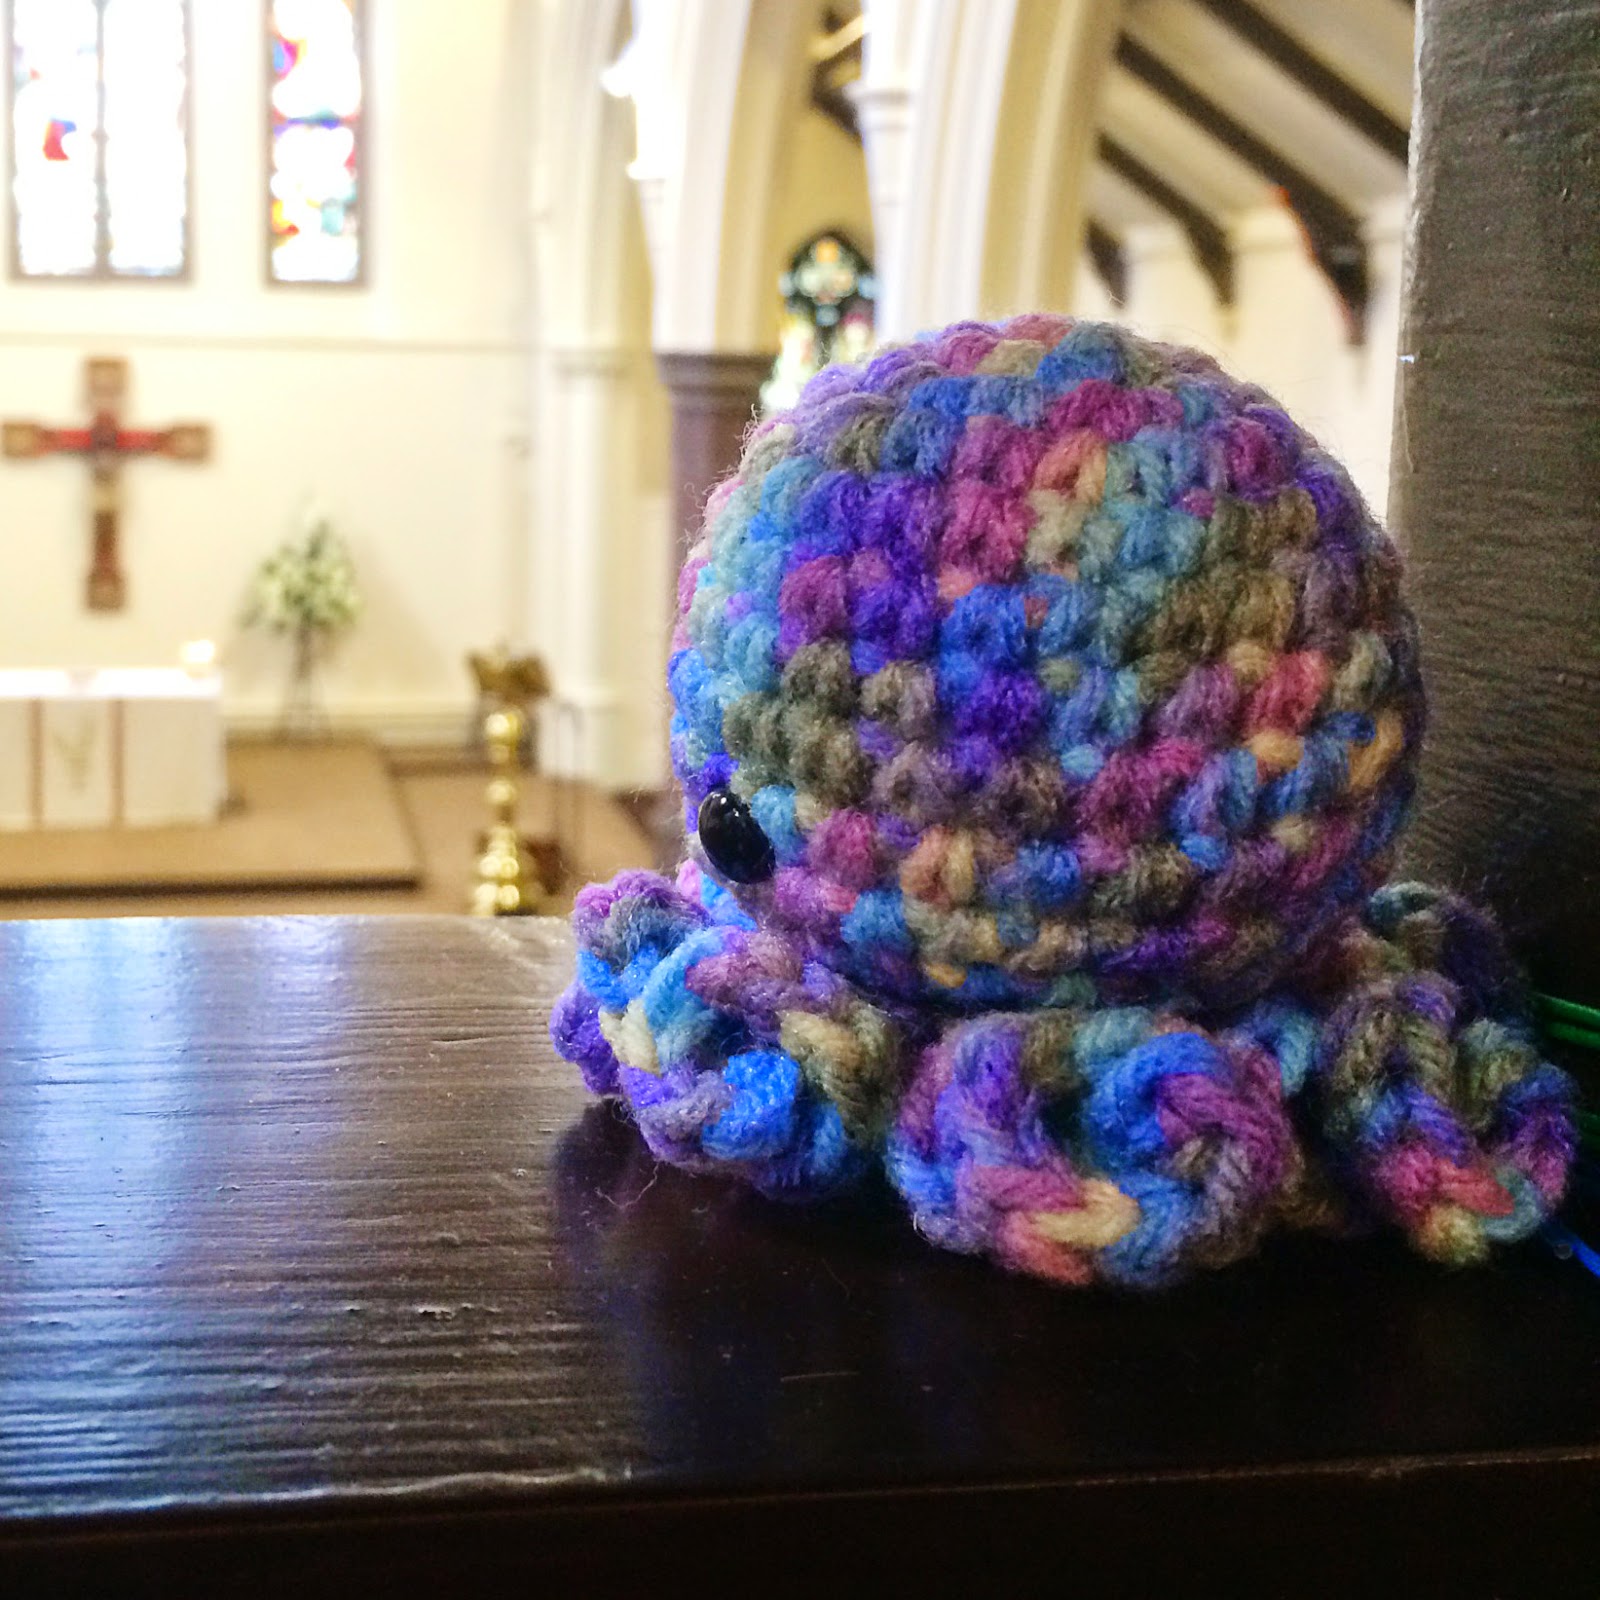
multi-coloured crochet octopus amigurumi
octopus!
Be honest: don't you think this little guy is super cute? I decided to look for some easy Amigurumi patterns the other day, because I thought it would be fun to make some toys, and I found this on ravelry. The pattern is Kawaii Octopus Amigurumi. I used some Red Heart Super Saver yarn my husband picked up in America last time he had a conference there, and a 4.5mm hook, although the pattern now suggests 3.75mm. I really struggle to find things to do with variegated yarn like this so I was very happy with how he turned out.


octopus amigurumi at church
octopus met his new owner at church

Making the legs were a bit tricky but the photos in the pattern are really helpful. Overall, though, I was really pleased by how quick it was to make. So easy in fact that I made another - this is rare for me because normally I'm all about the new shiny!

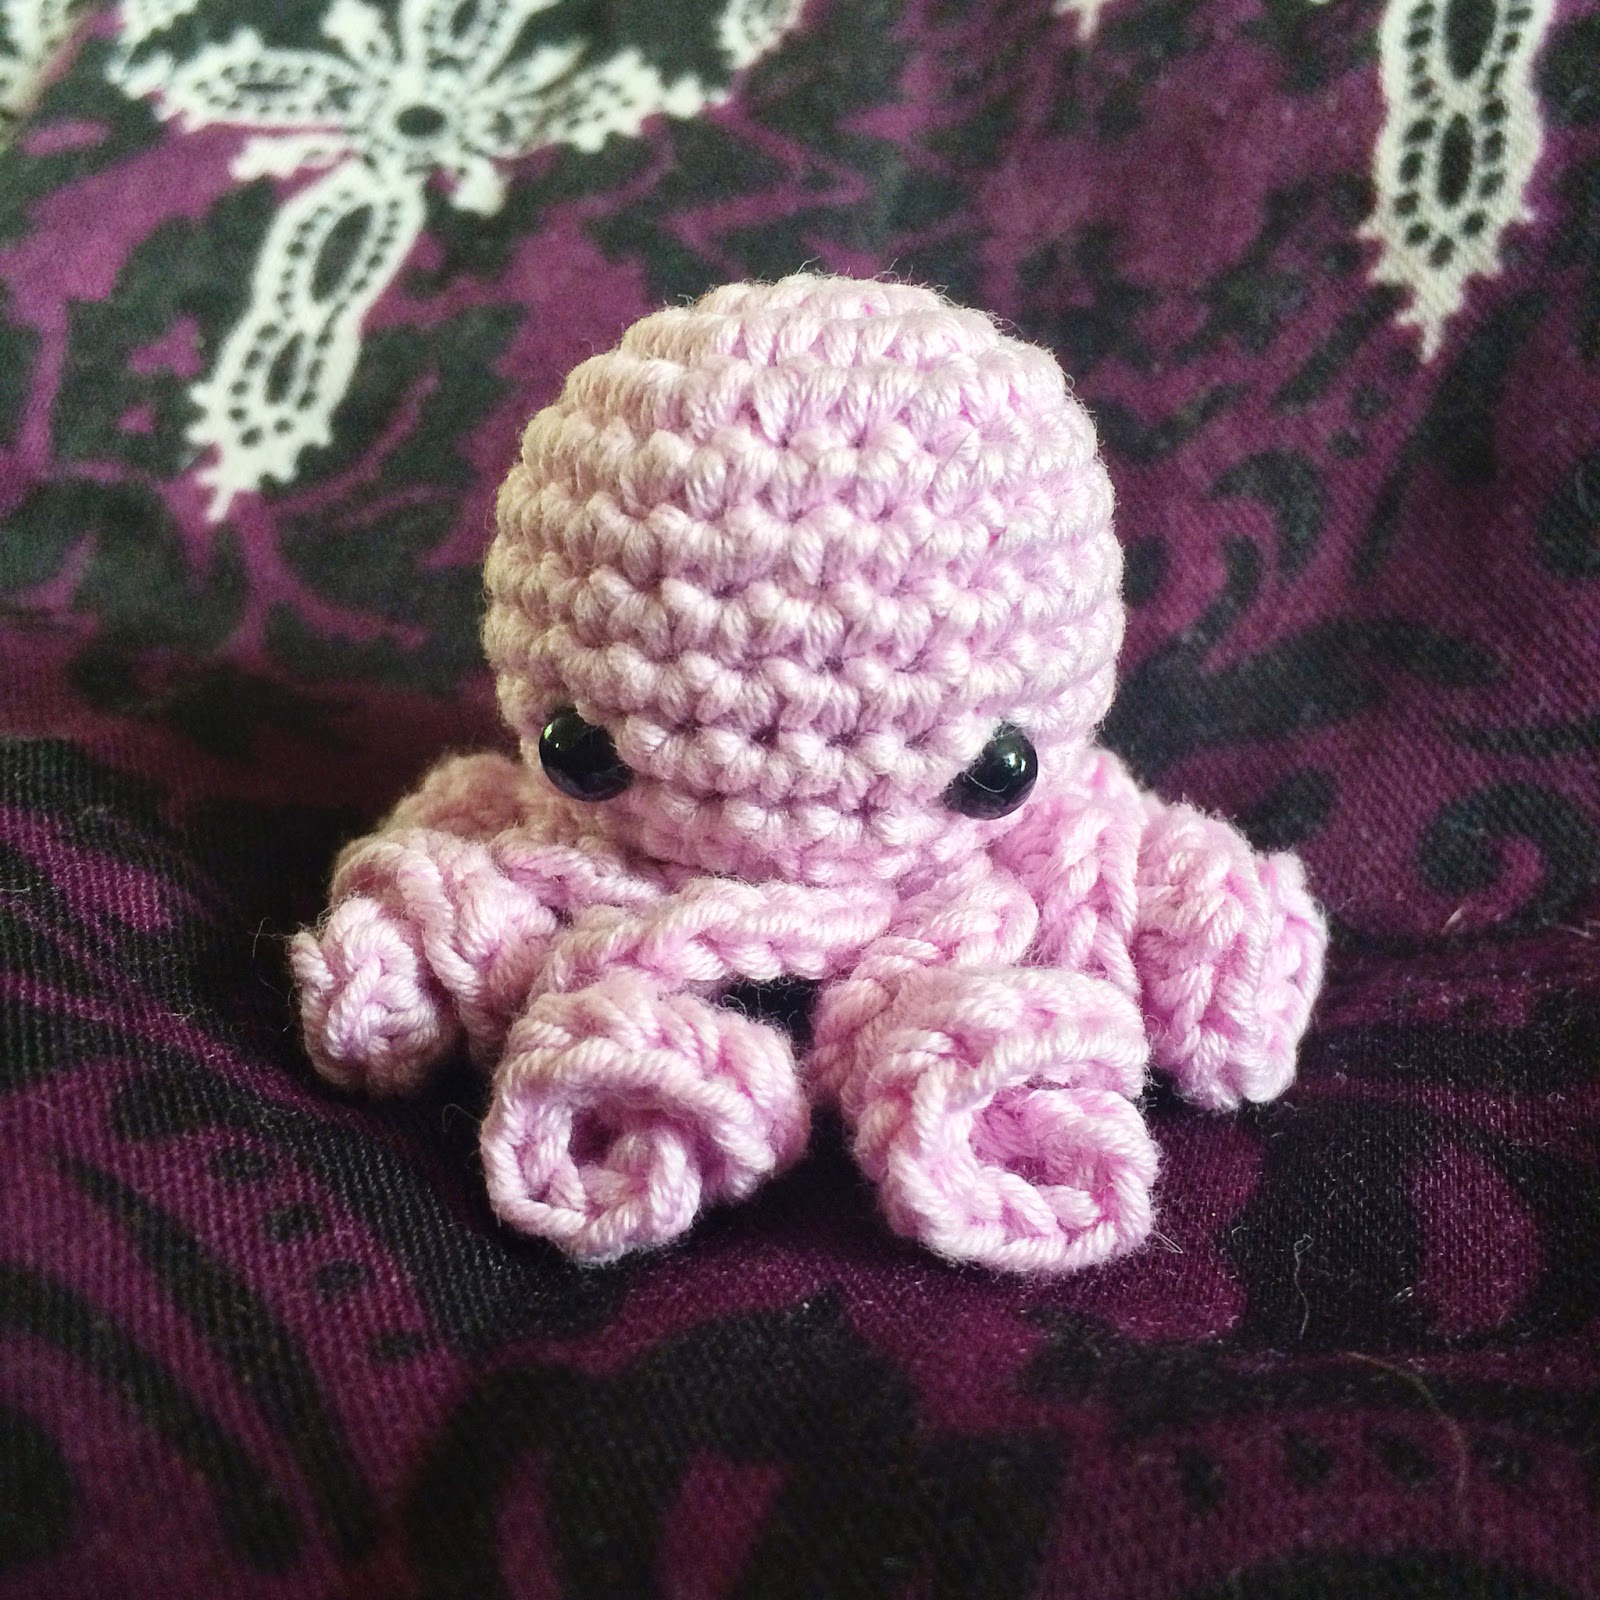
mini crochet octopus amigurumi
little octopus
The second one I made was much smaller - I made him with a 2.5mm hook and DMC Natura Cotton which is 4 ply weight, and my new 3mm safety eyes that my friend UnicornReality kindly sent me. Then I saw the Baby Kawaii Octopus pattern.
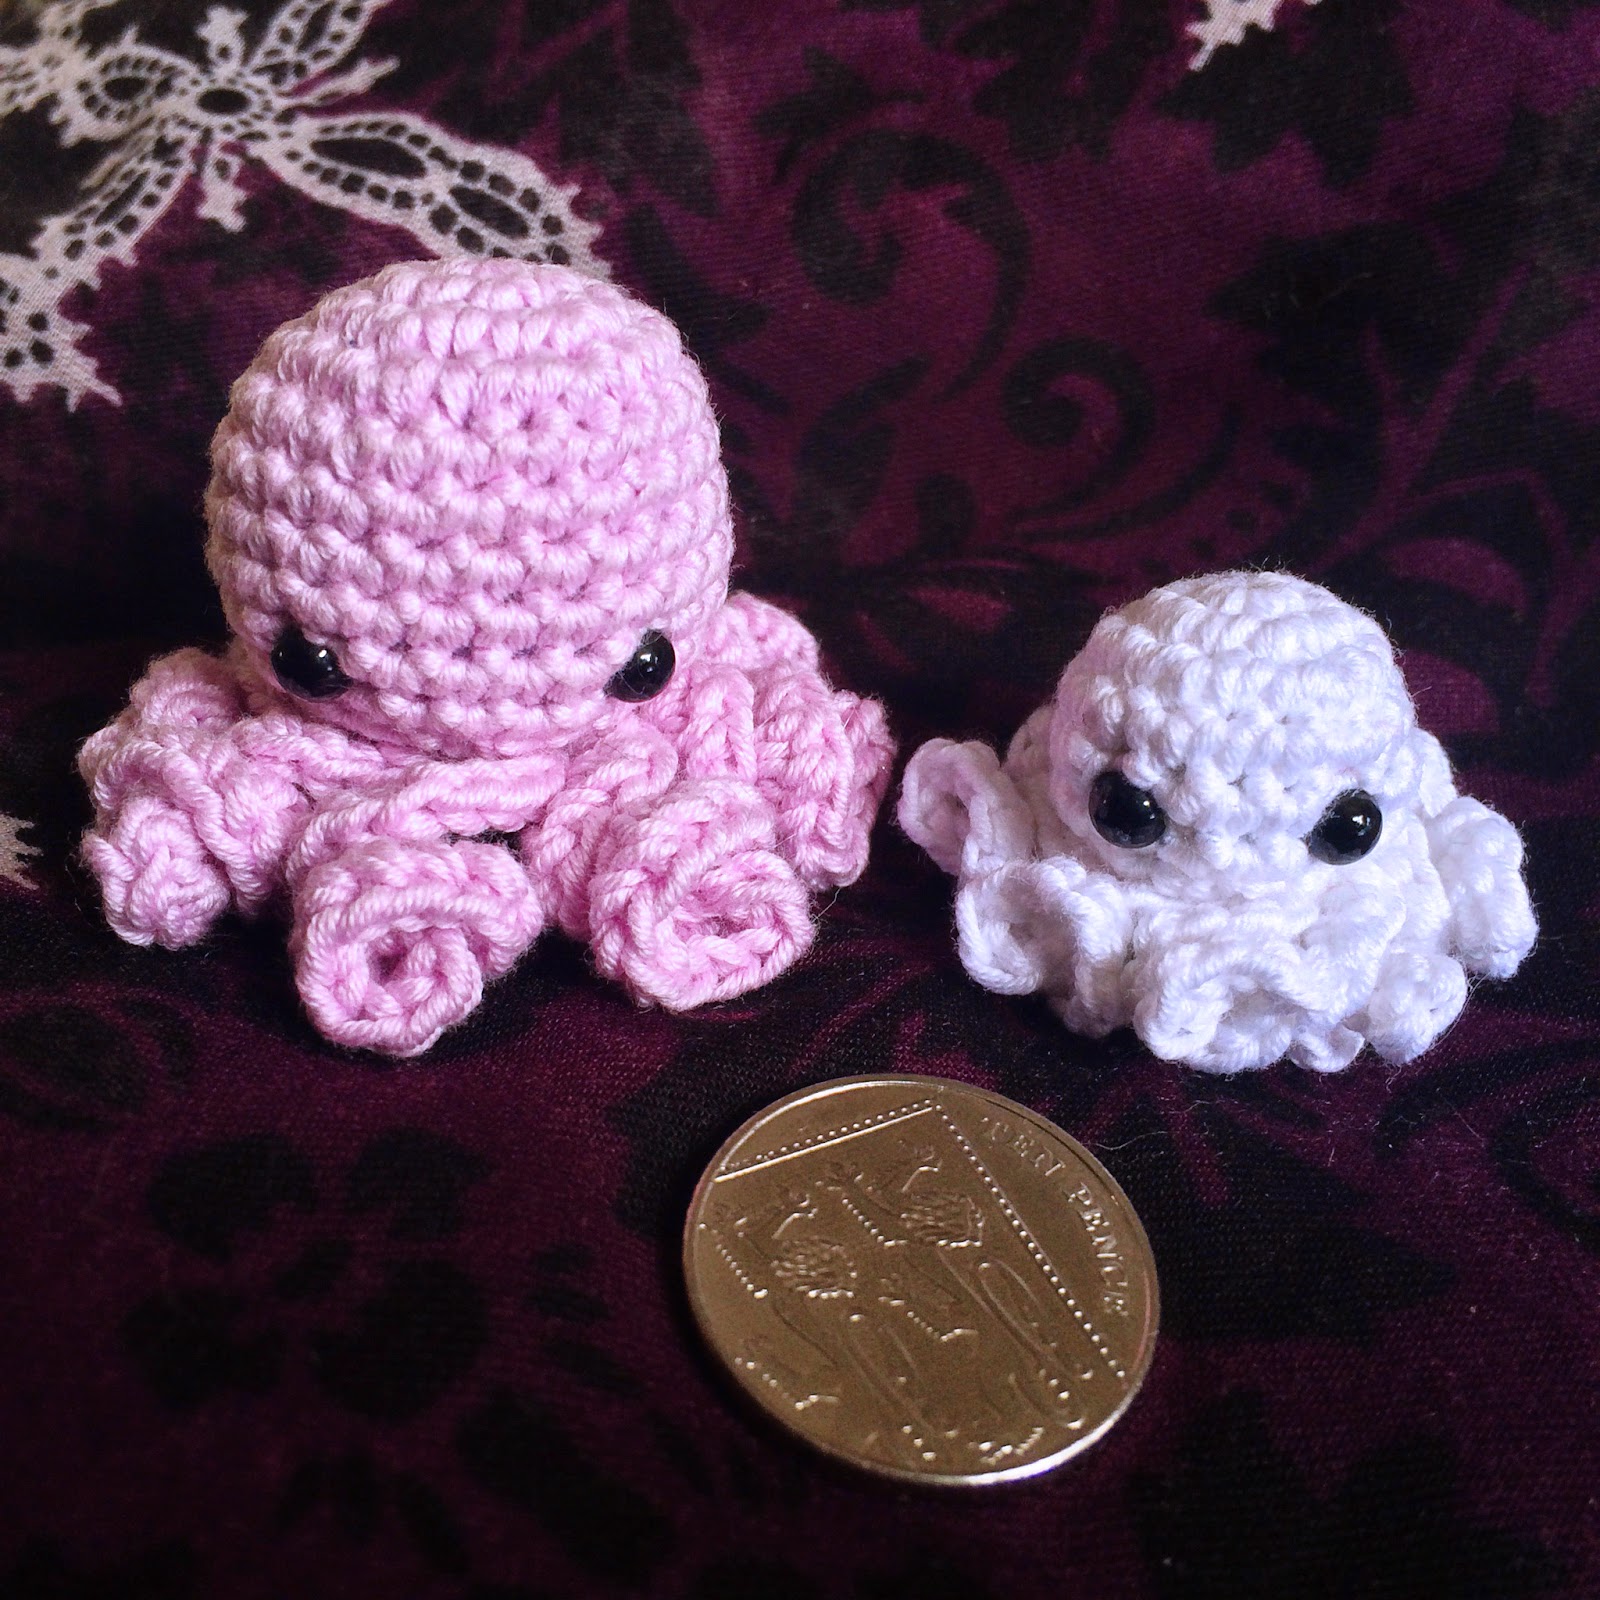
two tiny crochet ocotopus amigurumis with coin
little octopus and tiny baby octopus, with 10p for reference
The baby one is so tiny! I should probably have embroidered the eyes but I'm happy with him. I really liked both of these patterns, and I can definitely see myself making them again in the future.

Should I make one too? Yes, especially if you need to make a last minute gift for a young child, but bear in mind, safety eyes are probably not safe for children under 3 unless you know they will be closely supervised when playing with the toy.

Sunday, 20 July 2014

What I Made: epoxy sticker pendants


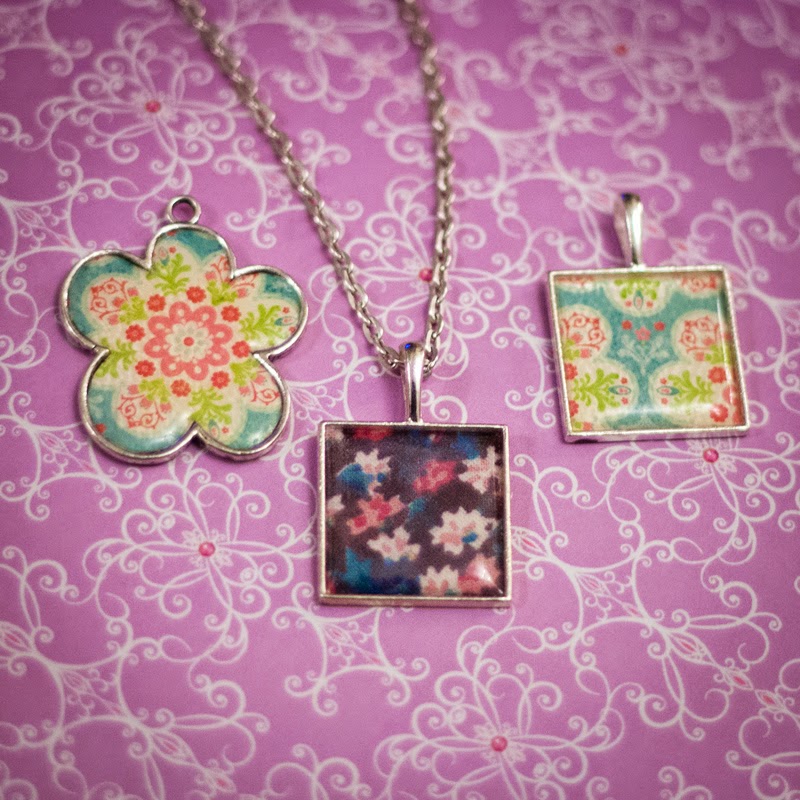
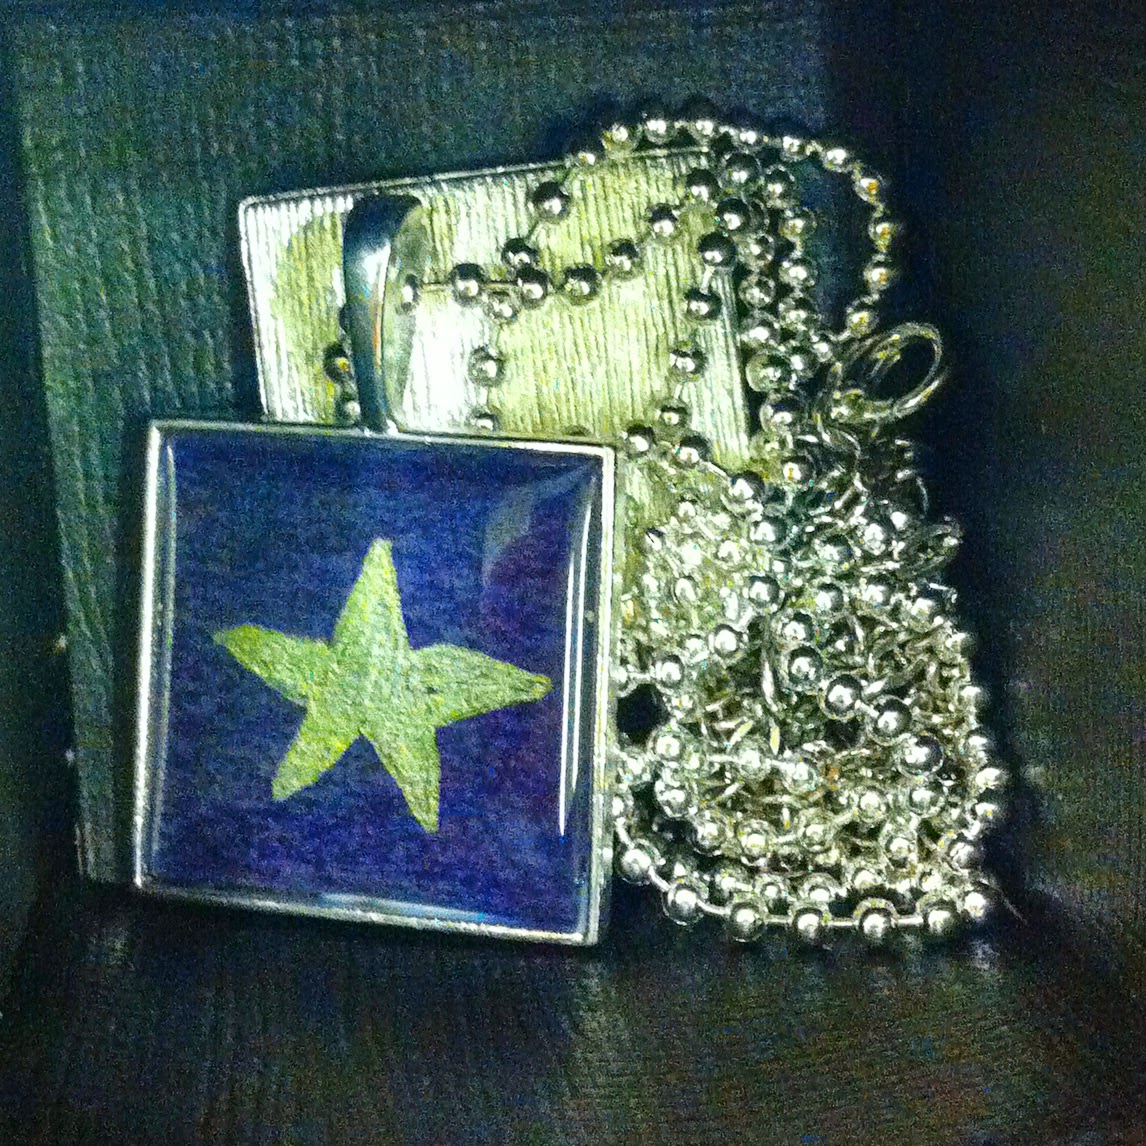
three epoxy sticker pendants

I love making jewellery, and a while ago I experimented with making pendants with epoxy stickers and pendant trays from www.jasminestudiocrafts.com. I bought them because I thought it would be fun to make jewellery with my art in it, but these are just practice attempts, the outer two with cardstock, and the inner one with thin cotton fabric from a dress I made for my niece.

The card was too thick and textured, really, to work well with the stickers, and it was really really difficult to cut in curves! But they're pretty as long as you don't study too too closely.

I was really pleased with the way the middle one turned out - I didn't know what to expect with gluing the fabric because I'd never used Mod Podge with fabric before, but it worked really well!

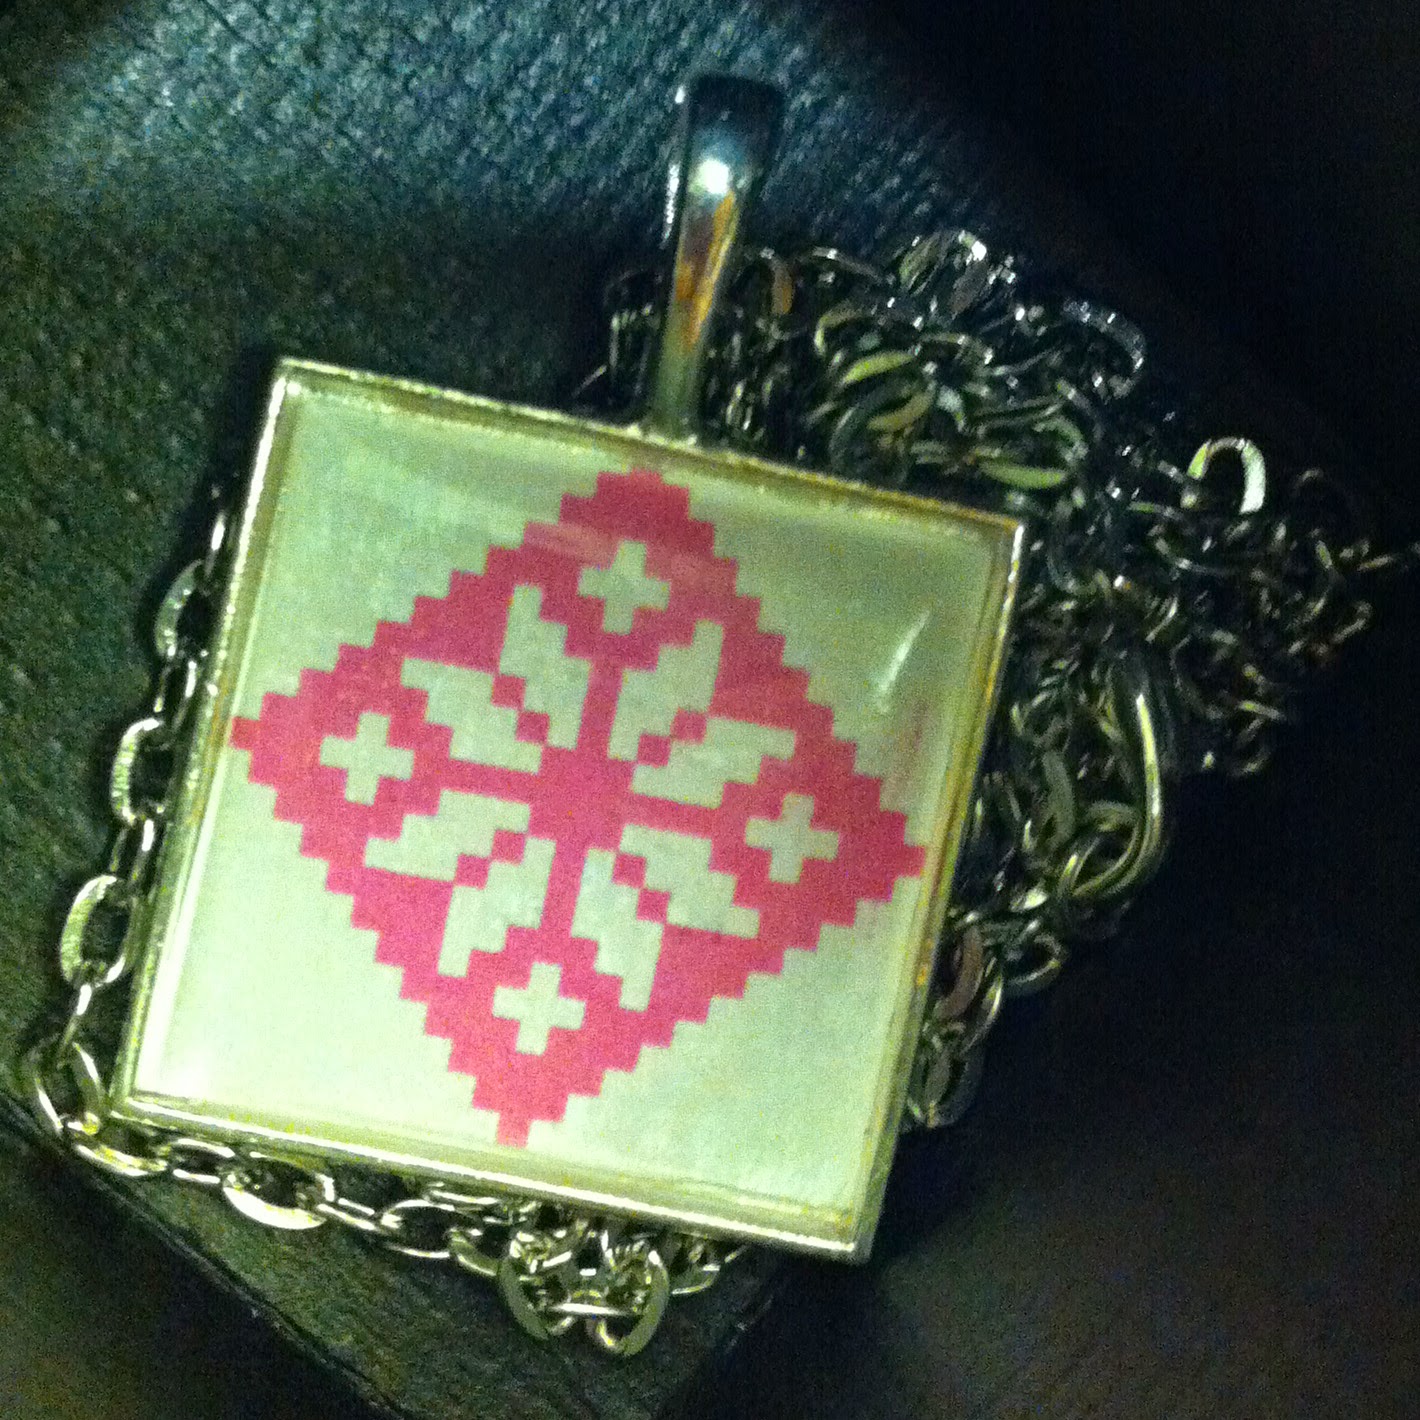
Later, I thought it would be really nice to try this with children, particularly the children at my church Holy Innocents Fallowfield, as a chance for them to make a few Christmas presents. I got some dark coloured card, some metallic gel pens, and some Christmas wrapping paper. I also got some little boxes to put them in for gifts. Here are some not particularly good pictures of the results:

a christmas tree pendant in a box

a pendant with a geometric pattern in a box
The girls had a lot of fun, and I think they were pleased with the results too. They made two or three each in the space of about half an hour. The older girls (I'm not sure of their exact ages but they're all in primary school) were able to do the whole thing by themselves, and I helped the slightly younger ones out by cutting the card to size for the pendants after they'd stuck the stickers on.

Should I make some too? Yes. It can be a bit of a gateway drug craft into more elaborate experiments with glass domes and resin, though, so be warned! Particularly try this if you make art and would like another idea for how to use it, or if you have children you need to entertain for an hour or so.

What I Made: Autumn Flowers Shawl

shawl draped over the back of a chair


I made this a couple of years ago, when I bought some cream fingering weight yarn and some beautiful Debbie Bliss Party Angel in brown with gold flecks, and I spent quite some time deciding what to do with them. I found the Creeping Daisy Shawl pattern on Ravelry, and was struck immediately by how lovely it looked.

I started off in cream but pretty quickly decided that the fingering weight yarn was too light, even though that's what others had used to make the shawl, so I dragged my husband to the yarn store again and got some green Wendy merino DK.

The first part of the shawl was deceptively easy, and while it took me a couple of evenings to complete, I'm sure if I'd concentrated I could have done it quicker. I then blocked that part because the edges were curling over.
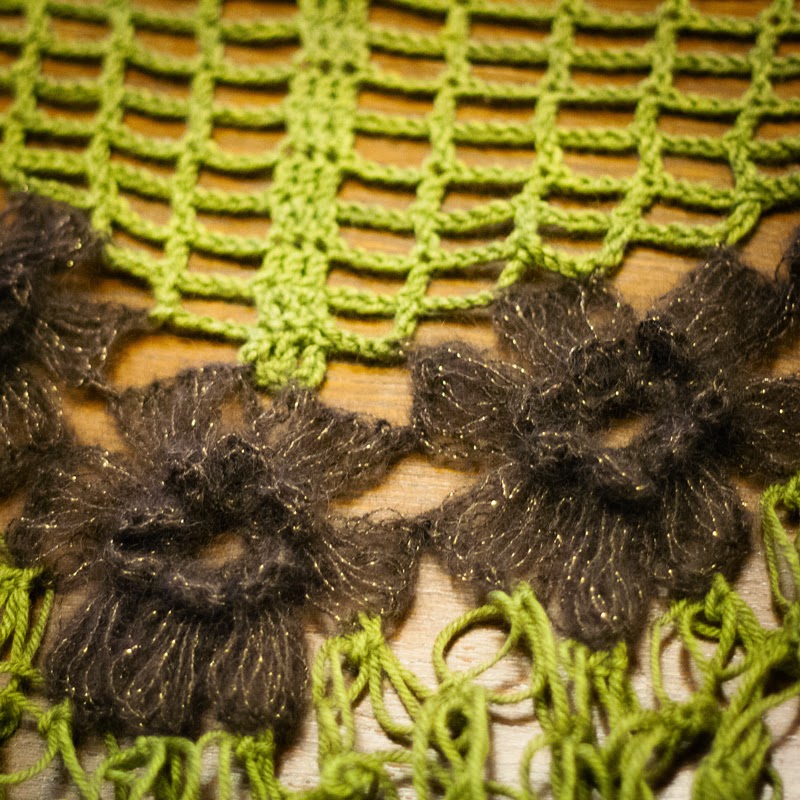
closeup photo of crocheted flowers
flowers detail

The flowers were more difficult, however. I think this was partly because it used a stitch I wasn't used to, but also because the  Party Angel yarn is hard to work with- it's really hard to unravel mistakes and, in the colour I used, even see the stitches. I did them over two evenings and most of the weekend. They were extremely pretty when done though.

closeup of crochet edging
edging detail
The love/Solomon knot edge looked as though it was going to be really quick and easy, and was reasonably fast until my inner perfectionist collided with the puff stitches. I had to do the first few over and over again until I got the right number of loops to make the puffs look puffy. I got much faster as I went a long. The daisy chain that weaves through it was easy and fast, and I decided to mix it up a bit with different sizes of flowers.

This is a lovely shawl, and I've continued to wear it on and off for a couple of years now. I've had a lot of compliments on it! I'd like to make another at some point, though possibly using an easier to handle yarn for the flowers. It took a little longer than I thought it would, but by comparison to the other patterns I've tried it's pretty fast.

Should I make one too?  Yes, especially if you want to give someone a unique and eye-catching gift, something a little different from the average handmade shawl.