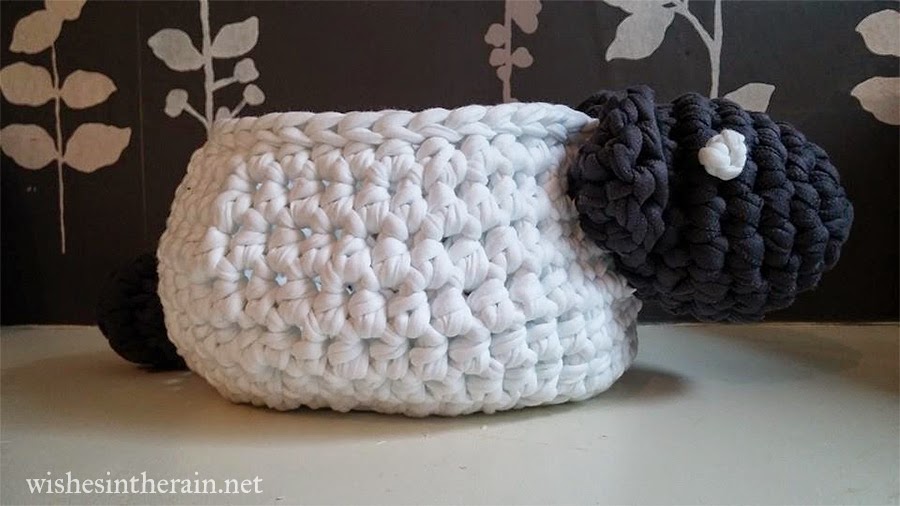
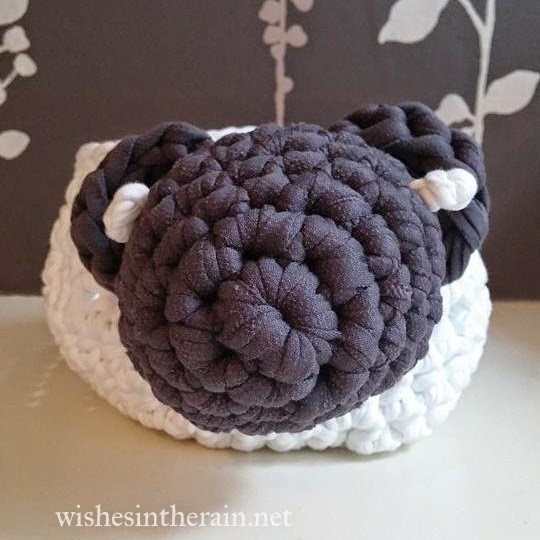
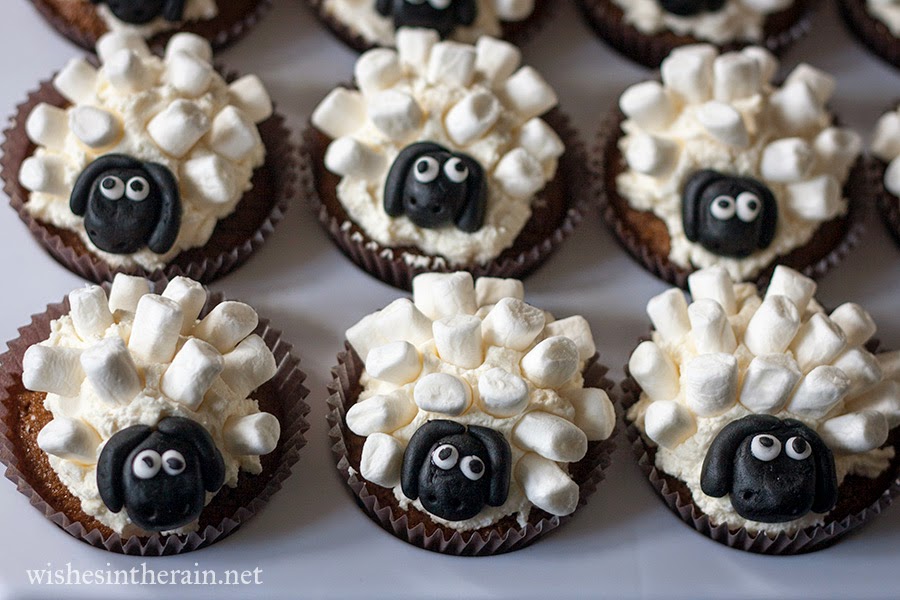
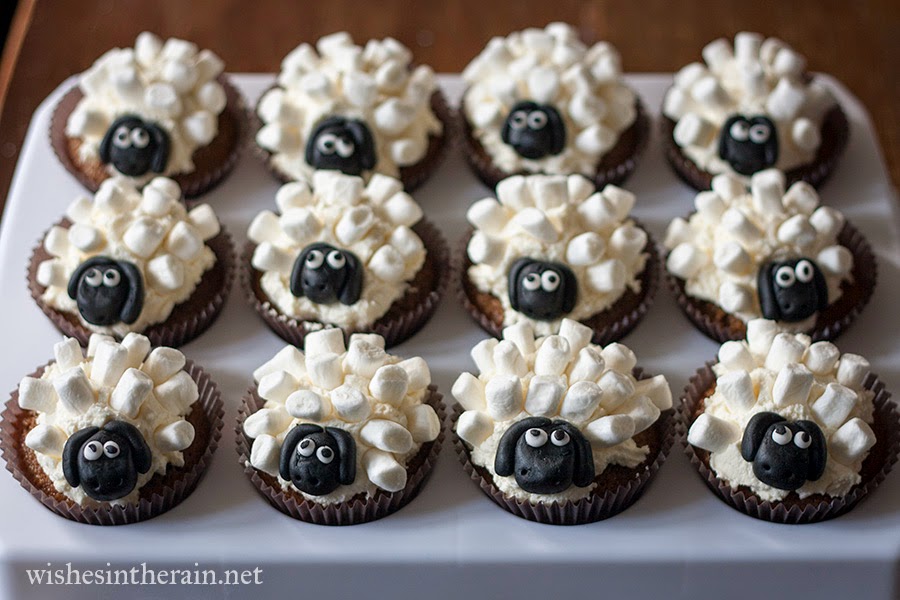
I promised another sheep related post after the cupcakes! A good friend of mine from University moved to Manchester last year, and I thought I should make her a house-warming gift to say welcome to the city. It wound up being very late since she moved here last summer! Her husband is Chinese, so when we were invited to celebrate the Chinese New Year with them, I thought a Sheep Bowl would be a perfect gift - fun and useful, and a nod to the time of year. She named her sheep bowl Siobhan, so that's the name of this pattern. Also I have the Shaun the Sheep theme on my brain now.
Since I decided to make a gift at the last minute, I wanted something which would be quick to do. I would have loved to make another Willow throw but I only decided on a Thursday and I needed it ready that Saturday evening. Hoooked Zpaghetti seemed to be the perfect yarn for this project - it works up extremely quickly although it can be hard work, and it's hard wearing - you can even make rugs from it.
Gauge is not important for this project, and it does actually work in lighter weight yarn and corresponding hook, though you will wind up with a very small bowl. I tried made the bowl part in worsted weight with a 3.5mm hook, and it's just about big enough for a few usb sticks for my desk at work.

Pattern
You will need:
- 35-45yards white hoooked zpagetti/t shirt yarn, (a little under a third of a 120m ball)
- small amount dark grey/black zpagetti/t shirt yarn.*
- 9mm & 10mm crochet hooks
- big tapestry/darning needle
- stitch marker
- Toy stuffing & pair of tights / scraps of fabric for stuffing
*It's possible to make your own t shirt yarn - have a look at this tutorial if you'd like to know how. You could also use super bulky 'normal' yarn or a few strands held together.
Stitches used: ch, sl st, sc, hdc, dc, trc (triple crochet), invdec (invisible decrease - put hook through front loops of next two sts, yarn over, pull through two loops, yo, pull through two loops), hdc dec (hdc decrease - yarn over, draw up loop through st, yo, draw up loop through next st, yo and pull through all five loops on hook), magic ring.
US terms are used throughout, if you prefer UK ones please use this conversion chart.
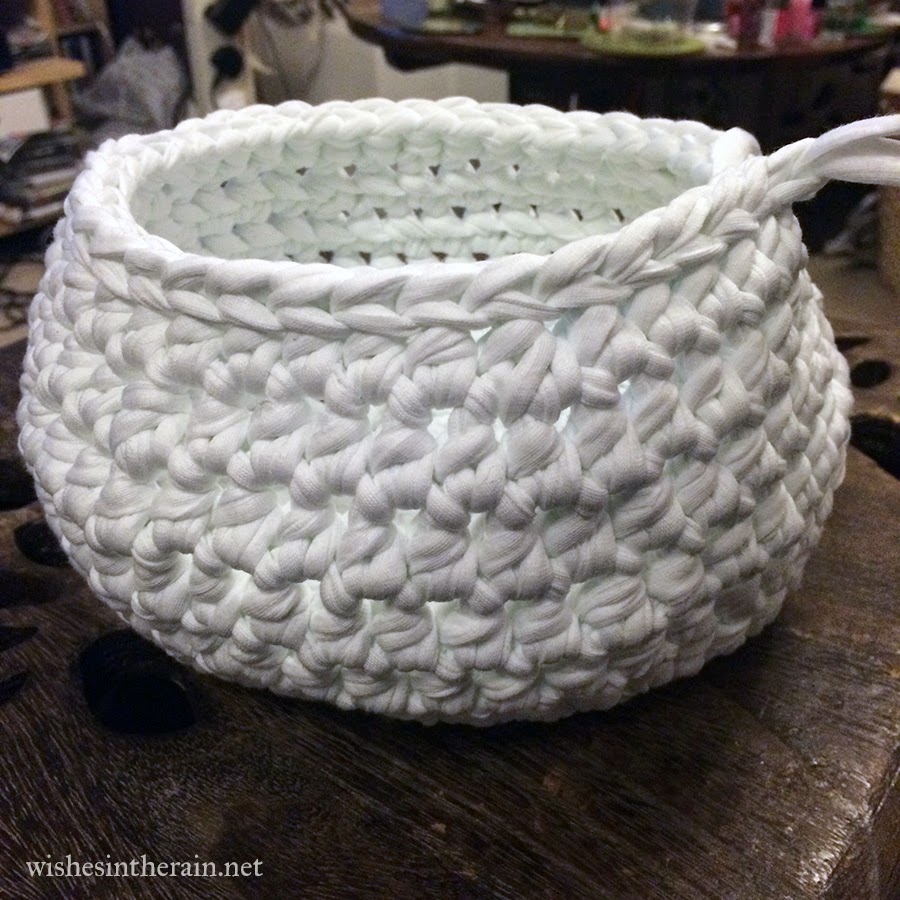
Bowl/Body
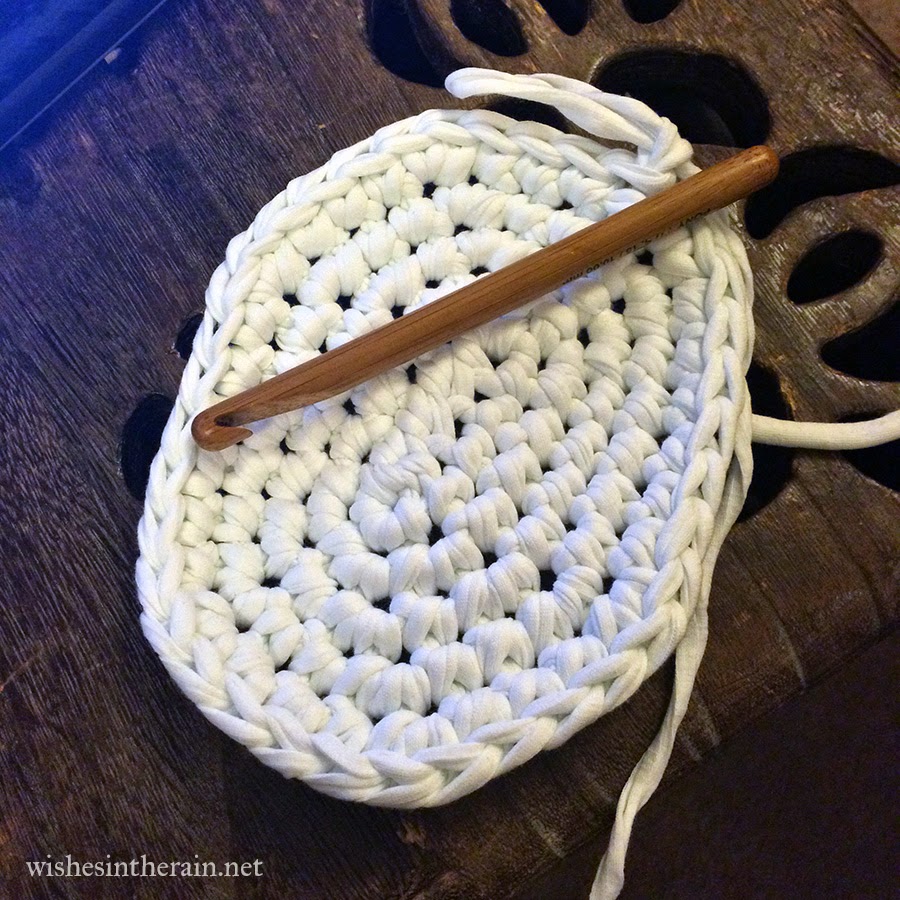
The base of the body is an oval worked in rounds. The sides of the body are worked in a continuous spiral. The initial chain is done with a smaller hook to minimise holes in the base of the bowl.
Foundation: With 9mm hook ch6.
Round 5: Ch1, 2sc in same st, sc in next 6 sts, (2 sc into next st, sc into next three sts) 3 times, sc in next 3 sts, (2sc into next st, sc into next three sts. Join with sl st into first sc.(36sc)
Round 7: In both loops, hdc into first hdc of previous round & place marker into st just made, 5 hdc, (2hdc into next st, hdc in next 12 sts) twice, 2hdc into next st, 6 hdcs (42hdc)
Change to 10mm hook
Round 1: Sc in 2nd ch from hook, sc in next 3 chs. 3 sc in last ch (crochet over the tail as you do these three sts and the rest of the first round.)
Working down the other side of the foundation chain, sc in next 3 chs, 2 scs in the last ch. Join with sl st into first sc. (12sc in total).
Round 2: Ch1, 2sc in same st, sc in next 3 sts, 2sc in next 3 sts, sc in next 3 sts, 2sc in next 2sts. Join with sl st into first sc. (18sc)
Round 3: Ch1, 2sc in same st, sc in next 4 sts, (2 sc into next st, sc into next st) three times, sc in next 3 sts, (2 sc into next st, sc into next st) twice. Join with sl st into first sc. (24sc)
Round 4: Ch1, 2sc in same st, sc in next 5 sts, (2 sc into next st, sc into next 2 sts) 3 times, sc in next 3 sts, (2 sc into next St, sc into next two Sts). Join with sl st into first sc. (30sc)
Round 5: Ch1, 2sc in same st, sc in next 6 sts, (2 sc into next st, sc into next three sts) 3 times, sc in next 3 sts, (2sc into next st, sc into next three sts. Join with sl st into first sc.(36sc)
Round 6: Ch1. In back loops only, (2 hdc into st, hdc in next 11 sts) three times (39hdc)
Do not join.
Round 7: In both loops, hdc into first hdc of previous round & place marker into st just made, 5 hdc, (2hdc into next st, hdc in next 12 sts) twice, 2hdc into next st, 6 hdcs (42hdc)
Round 8: (2hdc into st, hdc in next 13 sts) three times (45hdc)
Rounds 9,10: hdc in each st around. Keep moving marker up a row to keep track of where rows begin and end. (45hdc)
Rounds 9,10: hdc in each st around. Keep moving marker up a row to keep track of where rows begin and end. (45hdc)
Round 11: (hdc dec, 13 hdcs) three times. (42hdc)
Round 12: 6hdc, (hdc dec, 12hdcs) twice, hdc dec, 6hdc. Join with sl st into first hdc of round. (39hdc)
Round 13: Sl st in each St around. Bind off and weave in ends.
Head
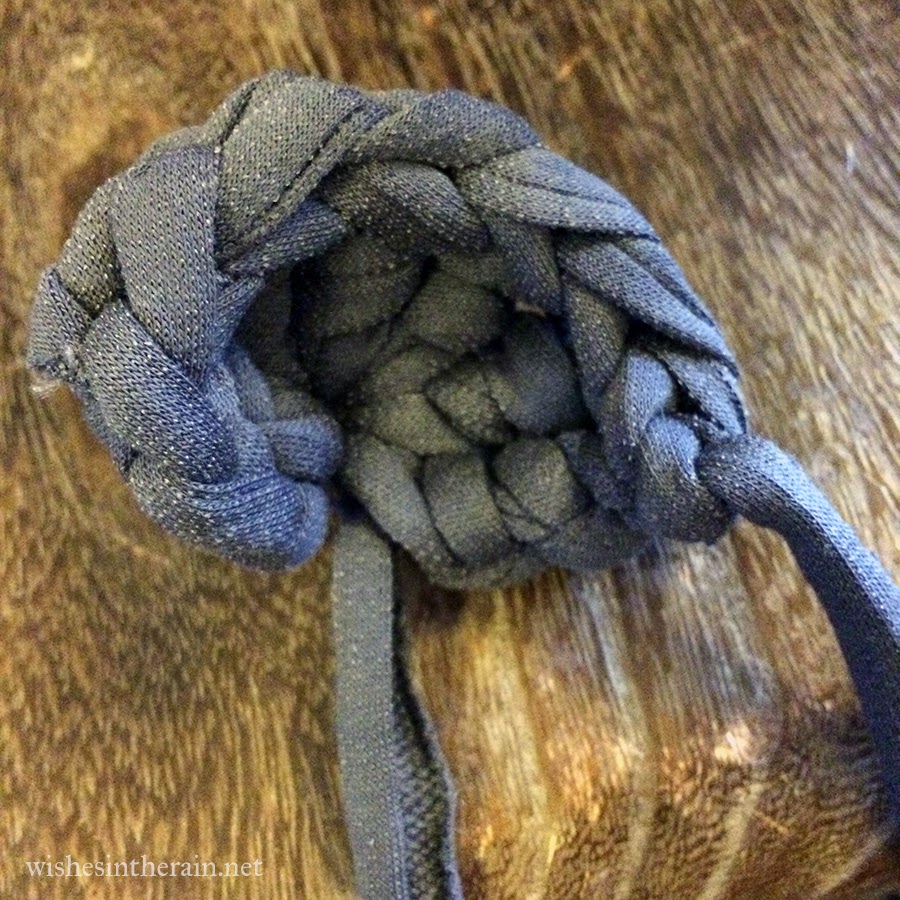
Use 9mm hook to make this tight, if you can - it's hard work! The head is worked in spirals - don't join at the end of each round, but use a stitch marker to keep track of the first stitch in each round.
Use 9mm hook to make this tight, if you can - it's hard work! The head is worked in spirals - don't join at the end of each round, but use a stitch marker to keep track of the first stitch in each round.
Round 1: 6sc in magic ring.
Round 2: 2sc into each st around.
Round 3: (2sc into st, sc into next 3 sts) three times.
Round 4: (2sc into st, sc into next 4 sts) three times.
Round 5: (2sc into st, sc into next 5 sts) three times.
Round 6: Sc in each st around.
Round 7: (Invdec, sc into next 5 sts) three times. Bind off, leaving a long tail to sew it to the body.
Eyes
Sew the eyes onto the head with white yarn.
Here is how I did it, but feel free to use a different method.
1: Draw your yarn through a gap in the head with your needle.
2: Create a knot.
3. Pull knot tight
4: knot loose end underneath the knot.
5. Pull tight and draw yarn back through the same hole.
6. Secure the ends into the head on the inside to anchor the eye securely (so it can't be pulled through), and trim excess yarn.
7. All done!
Ears (make 2)
Here is how I did it, but feel free to use a different method.
1: Draw your yarn through a gap in the head with your needle.
2: Create a knot.
3. Pull knot tight
4: knot loose end underneath the knot.
5. Pull tight and draw yarn back through the same hole.
6. Secure the ends into the head on the inside to anchor the eye securely (so it can't be pulled through), and trim excess yarn.
7. All done!
 |
| yes that is one of my cats in the background. |
Ears (make 2)
Using 9mm hook:
Make magic ring
Round 1: Ch 3, tc 6 times into ring. Pull ring tight and bind off, leaving a tail to sew the ear onto the head. Sew in other end.
Tail
Using 9mm hook, working in spirals:
Round 1: 6sc into magic ring
Round 1: 6sc into magic ring
Round 2: 2sc in each st around
Round 3: Sc in each st around
Assembly
First stuff the head. I cut off the foot from a cheap pair of black tights, and stuffed regular toy stuffing into it. Then I tied a little knot in the end and stuffed it into the head. This way the tights show up in the gaps between stitches, which looks better, and the stuffing can't come out. You could also use scraps of fabric to stuff the head.
Then sew the ears to the top edge of the head.
Stuff the tail with a few scraps of tights/fabric. It doesn't need much.
Finally sew the head and ears to the top of one side of the body, and the tail to the bottom of the other. (See the picture at the top of the post). Weave in ends and then you're done! Your Siobhan is ready to hold your trinkets :)
First stuff the head. I cut off the foot from a cheap pair of black tights, and stuffed regular toy stuffing into it. Then I tied a little knot in the end and stuffed it into the head. This way the tights show up in the gaps between stitches, which looks better, and the stuffing can't come out. You could also use scraps of fabric to stuff the head.
 |
| The stuffed head. |
Stuff the tail with a few scraps of tights/fabric. It doesn't need much.
Finally sew the head and ears to the top of one side of the body, and the tail to the bottom of the other. (See the picture at the top of the post). Weave in ends and then you're done! Your Siobhan is ready to hold your trinkets :)
